 English
Views: 0 Author: Site Editor Publish Time: 2025-07-14 Origin: Site


Are you struggling to get your studio lighting setup just right? In photography, lighting can make or break a shot. But don’t worry, mastering it doesn’t need to take hours.
In this post, you’ll learn how to set up your studio lighting in just 15 minutes, whether you’re a beginner or an experienced photographer. We’ll cover quick and effective tips to get you shooting professional-quality photos in no time.
Studio lighting refers to the controlled use of artificial light sources to illuminate a subject during photography. It plays a pivotal role in creating the desired atmosphere for the shot. Unlike natural light, which varies throughout the day, artificial lighting allows photographers to control intensity, direction, and color temperature. This precision is crucial in shaping the mood of a photo, whether it's a soft, romantic portrait or a high-contrast, dramatic product shot.
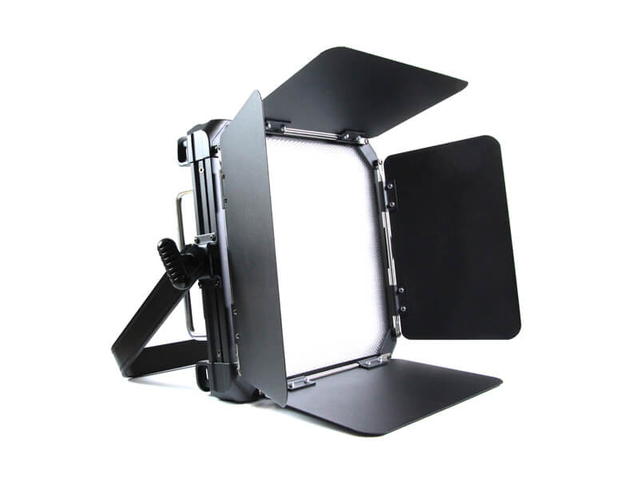
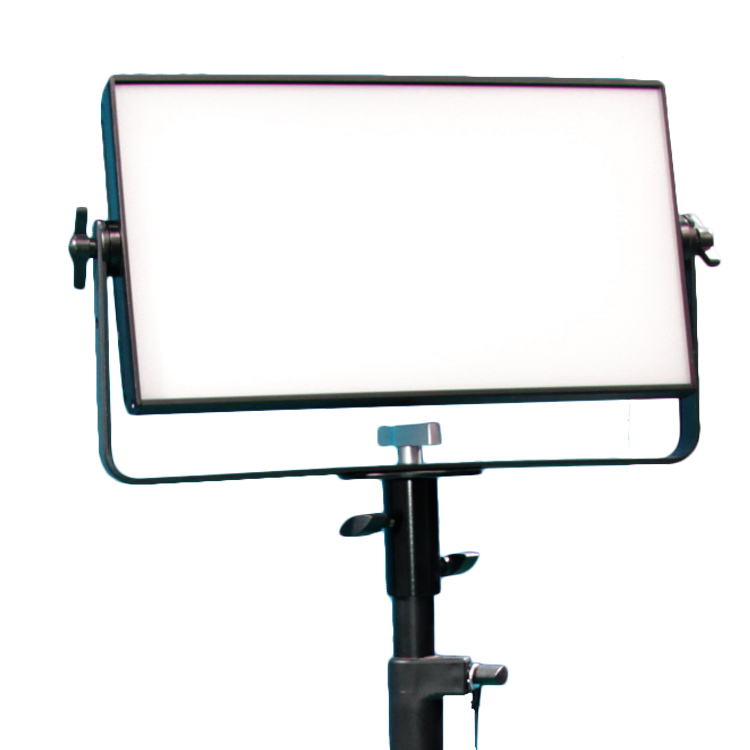
Continuous lighting stays on while you shoot, making it easy to see the effect of your light on the subject. This type of lighting is perfect for beginners, as it lets you adjust settings in real-time. It’s also ideal for video shoots, as it provides consistent light. LED continuous lights are especially popular due to their energy efficiency and adjustable color temperature, which makes them versatile for different photography styles.
Strobe lighting is often used in professional studio setups. These lights fire in short bursts, offering powerful illumination for brief moments. Strobes are known for their fast recycling times, meaning they’re ready to shoot again quickly. This makes them great for high-speed photography, where you need consistent flashes of light to capture moving subjects.
LED lights are energy-efficient and produce less heat compared to traditional light sources, which is great for small studios or setups where space is limited. They also come with adjustable color temperatures, allowing photographers to tailor the light’s warmth or coolness to match the scene.
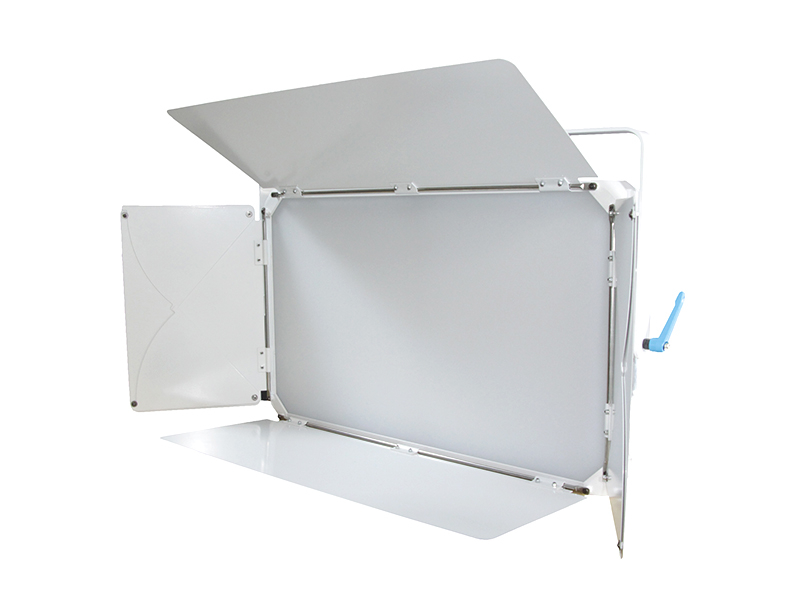
Modifiers help shape the quality of light, allowing you to create different moods or effects in your photos. Softboxes, umbrellas, and beauty dishes are common modifiers that diffuse light, softening shadows and producing even, flattering illumination. These tools are essential for achieving the soft light often used in portrait photography.
Reflectors bounce light back onto your subject, filling in shadows without overexposing any part of the image. Grids and flags, on the other hand, control the spread of light, enabling more precise adjustments. By using these modifiers, you can take complete control over the light’s direction and intensity, making your photos more dynamic and visually appealing.
Start by selecting a clean and spacious area for your setup. Set up your strobe or continuous light on a sturdy stand and check that all equipment is working properly. It’s helpful to have a light meter and a calculator handy to quickly calculate exposure settings, especially when using strobes or high-powered lights.
Position the key light at a 45-degree angle from your subject to create flattering, natural lighting. If you're using continuous lighting, adjust it in real-time to see how it affects the subject. This will help you achieve balanced exposure quickly.
Place the fill light on the opposite side of the key light. Keep it at a reduced intensity to avoid flattening your subject's features. The fill light should soften the shadows created by the key light while maintaining contrast.
For added depth, position the backlight slightly above your subject’s head. This will help separate the subject from the background, giving the shot a three-dimensional feel.
Focus on the essential lighting setup—3-point lighting. It’s quick and easy to set up, providing excellent results with practice. Once you’re familiar with the basic setup, you’ll be able to adjust quickly without compromising on quality.
A light meter is an invaluable tool in speeding up the setup process. It helps you find the perfect exposure quickly, especially when working with strobes or different light intensities. With it, you can avoid time-consuming trial and error, getting the right exposure faster.

To create flattering portraits, position your key light at a 45-degree angle to your subject. This will illuminate the face naturally, highlighting features without creating harsh shadows. Add a fill light opposite the key light to soften any dark areas. Finally, use a backlight above and slightly behind your subject to separate them from the background, giving the image depth. This classic 3-point lighting setup is quick to master and creates professional results in minutes.
The 3-point lighting setup is the most common for portrait photography. It balances light and shadows to create dimension. Another popular setup is Rembrandt lighting, which adds a dramatic touch. To achieve it, place the key light at a 45-degree angle above your subject’s eye level, and adjust the subject’s head to form a triangle of light on their cheek. You can set up Rembrandt lighting efficiently within 15 minutes, making it perfect for quick yet impactful portraits.
In product photography, soft, diffused lighting works best to bring out the details and textures. Use a light source positioned at a 45-degree angle to the product to avoid harsh shadows. Softboxes are a great tool for achieving even, soft light that highlights the product’s features without creating unwanted contrasts.
When photographing products, positioning the light at a 45-degree angle ensures even coverage. To avoid overexposure and sharp shadows, use modifiers like softboxes, which diffuse light evenly across the product. This setup makes the product stand out clearly, especially in close-up shots, by keeping the lighting soft and even.
Food photography thrives on soft, diffused light that highlights textures and colors. Use a large softbox or natural light coming through a window to achieve this effect. The diffused light will bring out the details in the food, making it look fresh and appetizing.
To enhance your food photography, experiment with diffusers and reflectors. Place a diffuser between the light source and the subject to soften the light. Add a reflector opposite the light source to bounce some of the light back onto the food, filling in any shadows. This simple setup can help make the food appear more vibrant and fresh, enhancing its natural colors.
If your shot is overexposed or underexposed, adjusting the intensity of your light source can make a big difference. To correct overexposure, lower the strobe power or move the light source further away from your subject. If the image is too dark, increase the light intensity or move the light closer to your subject. By making these small adjustments, you can quickly balance the exposure.
If your subject appears too bright, it’s likely because the light is too intense. To fix this, reduce the light power or move the light further back. On the other hand, if your subject looks too dark, increase the light intensity or get closer to your subject to fill in the shadows. These simple changes help create a well-balanced shot in just a few minutes.
When photographing people with different skin tones, it's important to use soft lighting to avoid harsh shadows and highlights. Soft light creates smoother transitions in skin tones, which is especially important for darker skin, where shadows can be more pronounced. To achieve this, use light modifiers like softboxes to diffuse the light and soften shadows.
Ambient lighting can interfere with your studio lighting, especially when it comes to achieving consistent exposure. To minimize this, try to control the amount of ambient light entering your shooting space. Close curtains, turn off overhead lights, or adjust your camera settings to reduce the impact of ambient light. This helps ensure that your studio lighting is the dominant light source in your shot.
Mastering quick studio lighting setups is essential for both beginners and professionals. The key tips—such as 3-point lighting—can help you achieve great results quickly.
Keep experimenting with different setups and modifiers. Over time, fine-tune your skills to unlock more creative possibilities in your photography.
A: With the right preparation and knowledge of basic setups like 3-point lighting, you can set up studio lighting in just 15 minutes.
A: Yes, combining natural light with studio lighting can enhance your shots, but ensure studio lighting dominates to maintain consistency.
A: Softboxes and umbrellas are great for beginners as they diffuse light evenly and create soft, flattering effects.