 English
Views: 9 Author: Site Editor Publish Time: 2021-04-22 Origin: Site


Double main light performance area lighting
Soft front light
Side main light
Overall lighting
Hair
Eyes
Nose
Mouth
Forehead
Neck
Face
Two-person lighting
Three people lighting up
Many customers will ask how to set up the studio lighting? Due to different scenes and different programs, there will be different methods. Everyone has different lighting methods, so the methods are also different. The lighting of the studio is generally divided into the following types:
1. Three-point lighting:
In the performance area, the lighting of the characters consists of three parts: the main light, the backlight, and the auxiliary light. The position of the backlight can be changed at will. It can be a light on the front and back, or one or two backlights on the side and back. Here, if the camera is not too oblique interlaced shooting, this dull method sometimes produces excellent results.
2. Double main light performance area lighting:
provide main light, auxiliary light and some kind of backlight for most positions of the camera, so that various positions can show the main light source, it can divide the performance into two areas, using single backlight Or double backlight.
3. Soft front light:
Use a comprehensive and sufficient bottom light to illuminate the entire scene, so as to avoid the underexposure problem that may occur in any performance area and limit the tonal contrast. Generally speaking, the photographed person looks clearer, but the effect is relatively flat. Sometimes the color is used to distinguish each plane, but it still looks unsatisfactory. If you highlight soft light from one side, instead of evenly distributing the overall lighting, the basic shape of the character is improved. Increasing the lighting of the backlight will increase the shape of the character, especially when shooting from an oblique angle, this effect is very obvious.
4. Side main light:
The hard lights along both sides of the set provide main light and backlight, and use soft auxiliary light to illuminate the front of the set. This kind of lighting method is more complicated, and soft light is used as the bottom light at the key angle of the front of the set, so that very good effects can be obtained. Then place a few spotlights along the side according to the needs of the local performance area. For many cameras, these lights become the main light and backlight at the right angle. For oblique cameras, they are frontal lights, and for frontal cameras that shoot sideways, they are very good side-angled lights.
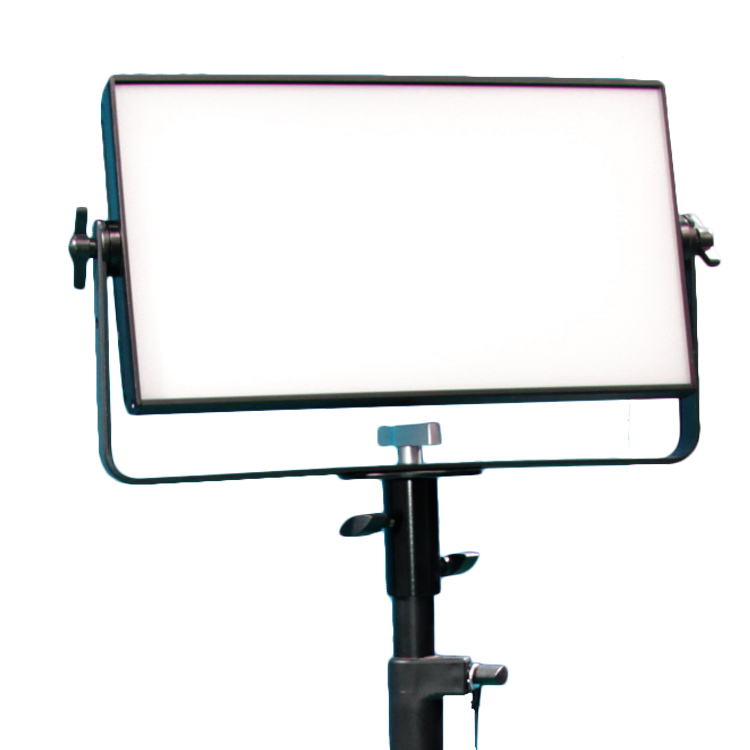
LED studio lights

LED studio lights
5. Overall lighting:
The lighting method mentioned here is to divide the entire performance into several parts to perform "three-point" lighting. This method of separate processing enables each position to have dedicated main light, auxiliary light, and backlighting, forming a whole multi-main light, multi-auxiliary light, and multi-backlight. If everyone's position is scattered and the movement of the head is limited, it will be easy. The quality of lighting provided by this simple and straightforward method is high.
Correction of static character problems. In the studio, some of the inherent problems of the characters can be improved by artificial correction of the lighting.
Hair: When the character's hair is shiny, we should first reduce the contrast between light and dark, reduce the backlight, and darken this area. When the character's hair is dark, the contrast between light and dark should be strengthened to increase the light of the head. When the person's hair is relatively sparse, attention should be paid to weaken the contrast between light and dark, reduce backlighting, make the area dark, use partial soft-gloss paper, and highlight other features by lighting. When the character is bald, attention should be paid to reducing the main light, avoiding bilateral contour light, reducing backlighting, using partial soft-gloss paper to darken the area, and try to blend the area with the background to highlight other characteristics of the character. When these problems occur with human hair, the camera should use a lower camera angle.
Eyes: When the character's eyes are sunken, the key light should be lowered and hard key light should be avoided. Use low camera angles. When the character’s eyes are bulging, the area should be darkened as much as possible to highlight other features. At the same time, the camera should especially avoid the close wide-angle lens angle, and the person should not look up when shooting.
Nose: When the character's nose is relatively large, the position of the main light should be close to the front, avoid hard main light, and lower its position. Also reduce the contrast between light and dark, avoid oblique backlighting, and pay attention to the protrusion of the nose. People should adopt a frontal position when shooting, with their heads up slightly. When the character's nose is small, the opposite lighting method should be used to emphasize the texture of the nose, and the head should be slightly lowered when shooting the character. In some cases where the character's nose is long, collapsed, or curved, we should pay attention to adopting a more positive and softer low key light, and pay attention to the protruding degree of the nose. In the shooting, the camera position should try to avoid the relatively close wide-angle lens angle.
Mouth: When the character's mouth is too large, a softer low key light should also be used on the front, and a local soft light paper or soft light yarn should be used. When the character’s mouth is small, use a skewed, textured, and hard high key light to enhance the contrast between light and dark.
Forehead: For people with protruding forehead, lower the main light, don't use skewed backlight, avoid the use of bilateral contour light and skewed backlight, and try to make the forehead area darker. For people with a relatively wide forehead, use a skewed hard key light to enhance the contrast between light and dark, and also avoid the use of bilateral contour light and the use of skewed backlighting. Pay attention to the use of lower camera positions when taking pictures. Angle, avoid close wide-angle lens angles.
Neck: When the character's neck is thick, use a more frontal key light, avoid using oblique backlighting to highlight it; do not use bilateral contour light. When there are many wrinkles on the neck of the character, a softer low key light should be used to weaken the contrast between light and dark. When the character has a double chin, use a soft high key light. In addition, in these cases, the lighting should be arranged so that the neck is hidden in the shadow as much as possible, making the area darker, and the camera setting should use a higher camera angle.
Face: When there are a lot of wrinkles on the face of a person, use a relatively positive low-hard main light to reduce the contrast between light and dark, avoid oblique backlighting to highlight it, and use some softer low auxiliary light. When the face of the character is relatively wide, use a harder key light on one side of the character to enhance the contrast between light and dark, and use the backlight from the front. For people with a narrower face, place a low key light on the side slightly closer to the face, pay attention to the protrusion of the nose, reduce the contrast between light and dark, and try to use bilateral contour light. In addition, there is another situation of the character, that is, the face is too flat and the shape is not clear. In this case, we should pay attention to using a harder skewed high key light, enhance the contrast between bright and dark, use a bilateral contour light, and do not use a close wide-angle lens to shoot at the camera position.
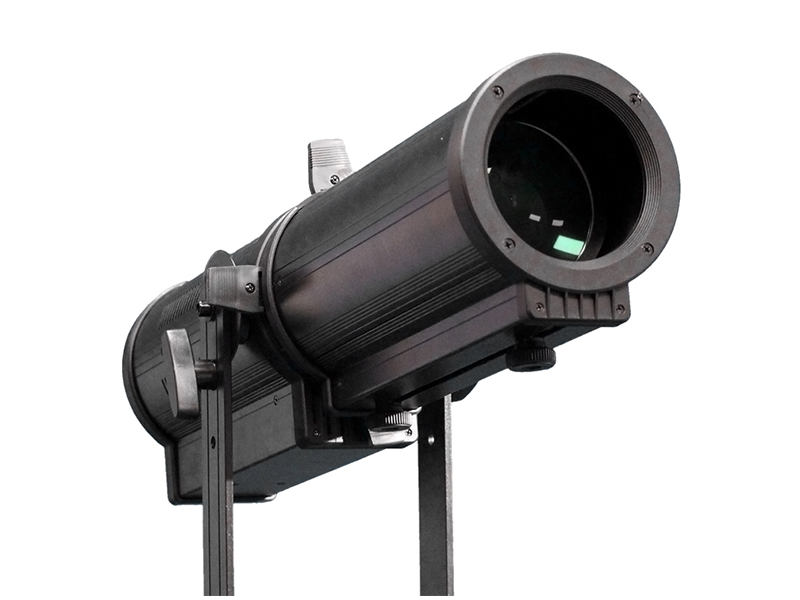
LED studio lights

LED studio lights
6. Two-person lighting:
This form of hosting is very common in various TV stations, and it is news, entertaining, and discussion. Therefore, there are many types of lighting. The first is to set the lights separately. This method is often used when two people are at a certain distance. It is difficult for one key light to complete the key light modeling of two characters. The method is to make sure that the two main lights are projected from a certain front side of the character at an angle of about forty-five degrees. Note that the two main lights should come from the same direction, otherwise it will cause a false main light projection. The auxiliary light should be two lights near the camera axis that do not interfere with each other. The contour light should be placed at an angle basically corresponding to the main light to outline the outline of the two hosts. The background light should be placed on the same side as the main light to illuminate the surrounding environment and background.
The second is a flat light combination. This lighting method is suitable for normal faces and thin faces. When lighting, the two lights that illuminate the faces of the characters are located near the camera axis, close to the camera, and the height of the light is level with the human head. . The position of the contour light is set behind the side of the subject, the light should not be too high, too bright, and not too biased.
The third is the side lighting. This method is suitable for two people talking on the program. The two sides are on the side or oblique side. This method has a strong sense of communication, which is different from the frontal lens lighting of the two show hosts. First, determine the position of the main light of the character. The main light should be placed on the side of the character away from the camera, and at the same time as the contour light of another person. It can outline the main form of the character and their respective expressive main lines, and at the same time outline The silhouette of another person. The shadow on the side of the character facing the lens is processed by the auxiliary light close to the two sides of the camera. This lighting method makes the main parts of the characters reappear in gradation from light to dark, and add a little background light or decorative light as needed.
7. Three people lighting up:
It is very common to discuss the scenes of the three groups of people, but it raises an unexpected problem, how to take a good picture of the person in the middle of the interlaced shots.
The first method is that everyone has a separate main light and backlight lighting, and the auxiliary light is placed above the axis of the camera as a shared auxiliary light. As a result of this lighting, all three people can get a good balance. But for the people on both sides, the auxiliary light seems too wide, and because the person in the middle spends most of the time talking with the left and right people, then in the multi-camera shooting, there will be a bad effect on the face of the person. Case.
The second method is that the main light of the left person on both sides acts as the backlight of the person on the right at the same time, the main light of the person on the right acts as the backlight of the person on the left at the same time, and the auxiliary light is separately illuminated. The lighting method of the middle person is the same as the first same. The third method is that the three people share the main light and backlight. The backlight of the person on the left serves as the main light of the person on the right, and at the same time the side light of the middle person. At the same time, the lighting of the person on the right is also the same, so that the middle person has a good lighting effect in the interlaced multi-camera shooting. But its disadvantage is that when the middleman looks forward, his face is divided into "two halves" by the light on both sides. In order to solve this difficulty, local front lighting can be added. But the result is not necessarily satisfactory. Its disadvantage is that it leads to a dull and dull effect on the face. For a person who has to look around and look straight ahead, there is no safe and reliable solution to this problem in order to produce good results.
As a lighting worker, lighting is not simply to supply the camera with light, nor is it simply to meet the illuminance requirements of the production technology, nor is it simply to reflect the appearance of the image within the viewing angle of the lens. Instead, light is used to participate in the creation of art, and light is used to portray and shape the image in front of the lens.