 English
Views: 0 Author: Site Editor Publish Time: 2026-06-15 Origin: Site


High-end production relies on unyielding stability. Professional image capture demands absolute precision from the ground up. A perfectly framed shot quickly loses its value if the foundation shakes or drifts. Treating support gear as passive accessories invites disaster. It leads to micro-jitters in your footage, inconsistent lighting setups, and costly equipment damage.
High-end camera bodies and sophisticated lighting arrays are only as reliable as the support systems beneath them. Ignoring proper deployment protocols puts your entire production at risk. Gravity and leverage constantly work against improperly rigged gear.
This guide breaks down professional deployment protocols, safety standards for studio setups, and rigorous evaluation frameworks. We detail the exact methodologies necessary to select the right support systems for commercial environments. You will learn how to deploy gear correctly and safeguard your most critical production assets.
Safety dictates workflow: Proper deployment of camera and studio light tripods prevents catastrophic gear failure and workplace liabilities.
Payload ratings are guidelines, not guarantees: Professional evaluation requires calculating working loads at a 50-70% margin of manufacturer maximums, especially when adding boom arms or heavy modifiers.
Deployment sequence matters: Extending the thickest leg sections first and properly managing the center of gravity are non-negotiable film set standards.
Standardization speeds up production: Standardizing quick-release plates and stand types across your studio reduces setup friction and limits operational errors.
Support equipment falls into specific functional categories. You must choose the correct tool for the specific job. Camera mounts require immense torsional stability. Torsional stability prevents twisting during camera pans. Lighting supports focus strictly on vertical load-bearing capacity. They hold static weight over long durations.
You cannot swap these roles safely. Placing a heavy cinema camera on a lightweight light stand risks disaster. Using a fluid head tripod for a strobe wastes valuable operational features. Understanding the mechanical differences saves time and protects equipment.
Manufacturers build support systems from distinct materials. Each material behaves differently under stress. Carbon fiber absorbs high-frequency vibrations effectively. It weighs very little. Crews prefer carbon fiber for remote location work. However, carbon fiber shatters under severe lateral impacts. It does not bend.
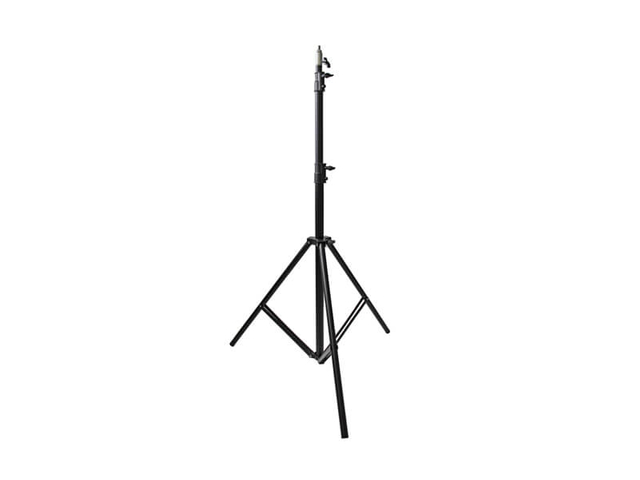
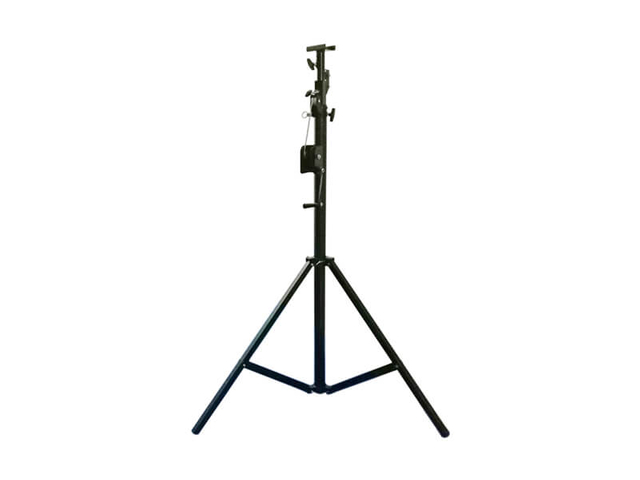
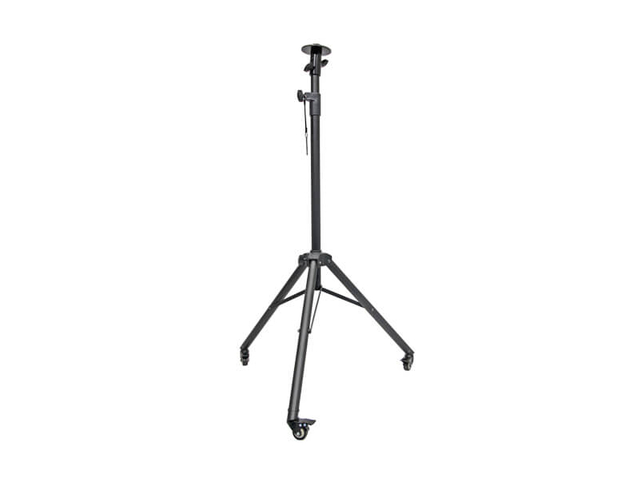
Aluminum and steel dominate professional sets. They provide essential mass. Mass directly contributes to overall stability. Heavy-duty Studio Light Tripods rely on steel columns. You need this raw weight when flying large light modifiers. Steel bends before it breaks. This gives crews a visual warning before a catastrophic failure.
Material | Primary Advantage | Primary Vulnerability | Best Use Case |
|---|---|---|---|
Carbon Fiber | Vibration dampening, ultra-lightweight | Lateral impacts, crushing forces | Location camera work, hiking |
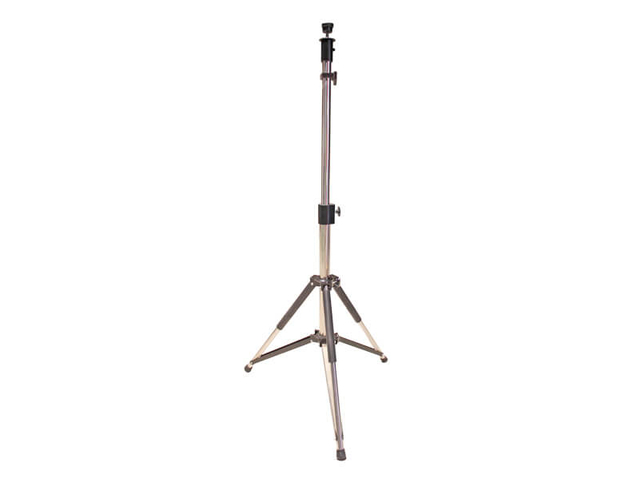
Aluminum | Cost-effective, moderate weight | Prone to denting, moderate flex | General studio camera work |
Steel | Maximum payload, extreme durability | Very heavy, prone to rust if scratched | Heavy lighting rigs, boom arms |
Spreaders dictate how legs lock together. They define the structural triangle. Mid-level spreaders attach halfway up the legs. They excel on uneven terrain. You can place one leg on a stair and two on the floor. Crews use mid-level spreaders for fast repositioning.
Ground spreaders connect the feet directly at the floor level. They offer maximum rigidity. They prevent legs from slipping outward under heavy loads. You should use ground spreaders strictly on flat studio floors. They perform poorly on rocky outdoor surfaces.

Safety relies on repeatable, disciplined habits. Randomly loosening knobs leads to accidents. Professionals follow strict protocols to establish a secure footprint. You must train your team to build support systems identically every time.
Telescoping legs lose rigidity as they get thinner. You must maximize structural integrity during deployment. Always extend the uppermost, thickest leg sections first. They offer the highest torsional rigidity.
Loosen the locks on the top leg tier.
Extend the thickest sections to the desired height.
Lock the latches firmly.
Move to the next tier down only if you need more height.
Reserve the thinnest bottom sections for absolute maximum height emergencies.
This protocol lowers the center of mass. It keeps the sturdiest components nearest to the heavy equipment.
Spacing determines tipping resistance. You must expand the base footprint fully. Narrow footprints invite disaster. When placing Studio Light Tripods, ensure the legs form a wide, equilateral triangle.
C-stands require the "righty-tighty" rule. You must position the grip head so gravity tightens the knuckle. If a heavy modifier slips, it should rotate the lock clockwise. This automatically tightens the grip. Always point the longest leg directly toward the heaviest part of the load. This counteracts forward tipping forces.
Adjusting individual legs to level a camera wastes time. It also compromises the center of gravity. You end up with an asymmetrical base. Professionals use leveling bowls instead. Common sizes include 75mm, 100mm, and 150mm bowls.
Bowls allow you to adjust the horizon line instantly. You loosen the tie-down beneath the bowl. You center the bubble level. You lock it back down. The legs remain evenly deployed. The center of gravity stays perfectly centered over the base.
Feet must match the floor surface. Hard plastic slides easily on polished concrete. Metal spikes destroy studio floors. You must adapt the contact points.
Mandate spiked feet for earth, gravel, and grass. Push the spikes firmly into the dirt. They anchor the rig against wind. Mandate rubber overshoes for slick studio floors. Rubber prevents micro-sliding during heavy camera pans. Check rubber feet regularly for wear and tear.
Physics governs set safety. Leverage multiplies weight. You must calculate forces proactively to prevent accidents. Ignoring leverage limits leads to snapped locks and shattered bulbs.
Manufacturers test payloads under ideal conditions. They center static weights in temperature-controlled rooms. Sets never offer ideal conditions. Wind shear pulls on softboxes. Actors bump into stands. Cameras tilt aggressively off-center.
Skeptical buyers calculate a working payload. You must apply a 30-50% safety buffer to manufacturer claims. If a stand claims a 20-kilogram maximum, treat 10 to 14 kilograms as your absolute limit. This buffer absorbs dynamic movements and sudden shocks safely.
Heavy modifiers create extreme leverage. A 5-kilogram light feels like 20 kilograms when extended on a boom arm. This force pulls the stand violently off its vertical axis. Managing Studio Light Tripods requires constant physics calculations. You must counterbalance every offset load precisely.
Sandbags provide crucial downward force. However, improper placement renders them useless. A sandbag resting partially on the floor adds zero stabilizing weight to the stand. You must suspend the weight entirely.
Never rest sandbags on the ground.
Drape sandbags securely over the tallest leg of a C-stand.
Hang bags from the center column tie-down hook on camera tripods.
Ensure the bag clears the floor completely.
Use bright colors or safety tape on bags in high-traffic zones.
Loose cables cause severe accidents. Someone tripping on an SDI cable will pull down the entire rig. Snagging is a leading cause of tip-overs on active sets. You must secure SDI, HDMI, and power cables.
Route cables straight down the center column. Tape them to one specific leg. Leave enough slack near the fluid head for panning. Tape the floor runs securely to prevent foot-traffic snags. Neat cables ensure safe environments.
Operators rely on fluid heads for cinematic movement. The head must absorb minor hand tremors. It must provide consistent resistance. Tuning the head correctly prevents operator fatigue.
Counterbalance springs push back against the camera's weight. Dialing this in is a critical step. If calibrated correctly, the camera floats. It stays static at any tilt angle. You do not need to lock the tilt drag.
Follow this precise calibration process:
Mount the fully built camera package (batteries, lenses, monitors).
Turn the pan and tilt drag settings to absolute zero.
Hold the camera securely. Unlock the tilt lever.
Tilt the camera forward 45 degrees. Let go gently.
If the camera drops forward, increase the spring tension.
If it bounces backward, decrease the tension.
Repeat until the camera hovers perfectly at any angle.
Drag dictates movement resistance. You must match fluid resistance to your focal length. Macro lenses amplify tiny vibrations. Tracking a subject at 200mm requires very heavy drag. Heavy drag forces you to push smoothly. It eliminates nervous jitters.
Conversely, rapid action requires minimal drag. If you need a fast whip pan, turn the drag down. Fighting heavy drag during a fast movement causes the tripod legs to twist. Always tune the drag immediately after changing lenses.
Cheap friction heads use plastic plates pressing together. They fail under professional scrutiny. Friction changes based on temperature. Cold weather makes them stiff. Hot weather makes them slip. They suffer from "stiction"—a sticky jerk at the beginning of a pan.
True fluid cartridges utilize sealed chambers. These chambers contain viscous silicone oil. They provide perfectly uniform resistance regardless of speed or temperature. True fluid cartridges represent a baseline requirement for any commercial production.
Procuring support equipment requires long-term strategic thinking. You are investing in a structural foundation. Compatibility across your studio saves immense time during complex setups. Isolated, proprietary systems create operational bottlenecks.
Avoid proprietary quick-release systems. They lock you into a single manufacturer. You will waste time swapping plates when moving cameras between gimbals, sliders, and tripods. You must evaluate systems based on industry standards.
Standardize your studio around universal ecosystems. Arca-Swiss dominates photography mounts. Manfrotto 501 plates serve lightweight video needs. VCT-14 plates handle heavy broadcast shoulder rigs. Pick one standard for your specific workflow. Mandate cross-set interoperability. This ensures any camera can mount to any support instantly.
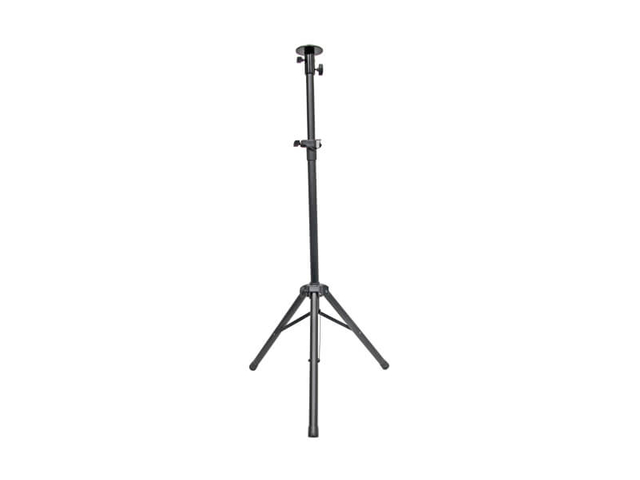
When shortlisting support for lighting, the column mechanics matter significantly. Different shoots require different height adjustment methods. You must choose between speed and precision.
Air-cushioned drops protect expensive gear. If a lock slips, the column descends slowly. Air trapped inside the tube acts as a shock absorber. This prevents expensive strobe bulbs from shattering upon impact. You want air-cushioning for fast-paced, run-and-gun portrait setups.
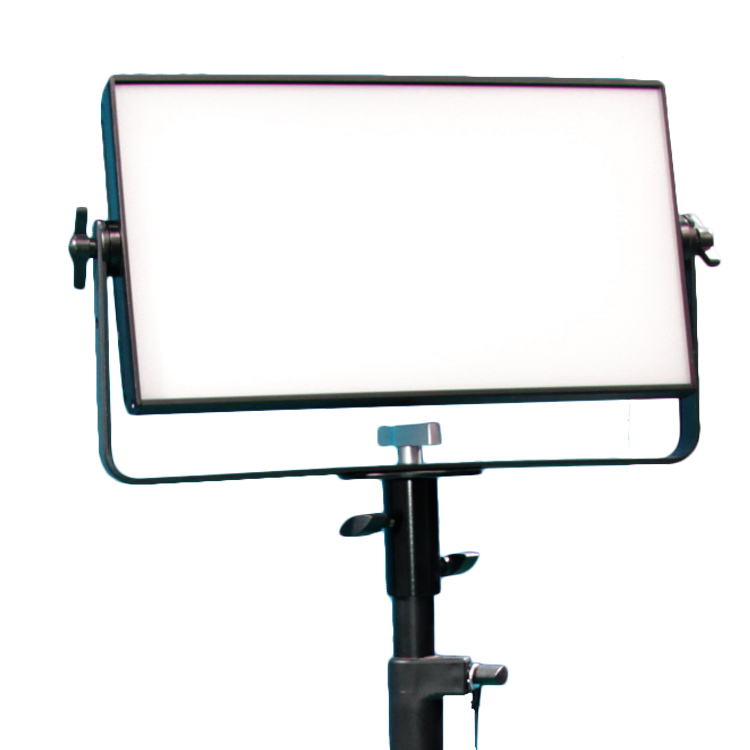
Geared center columns offer absolute precision. You turn a mechanical crank to raise the payload. Teeth engage a vertical track. You can achieve millimeter-perfect height adjustments without lifting the load manually. Large Studio Light Tripods rely on geared columns to manage extreme weights safely. They are mandatory for heavy Fresnel lights.
Column Type | Mechanism | Primary Benefit | Ideal Payload |
|---|---|---|---|
Air-Cushioned | Pneumatic pressure resistance | Prevents sudden drops and bulb damage | Light to Medium strobes |
Geared Column | Mechanical crank and teeth | Millimeter precision, zero lifting required | Heavy cinema lights, large modifiers |
Standard Friction | Manual lift and screw lock | Fastest manual setup, lightweight | Small LED panels, reflectors |
Proper usage requires disciplined deployment habits. You must refuse to push gear past safe operational limits. A robust support system guarantees your creative vision remains stable. Shortcuts in setup protocols directly threaten your expensive camera sensors and lighting arrays. Establish strict rules for deployment, leveling, and sandbagging.
Audit your current studio support gear immediately. Check for compromised leg locks, stripped threads, or inadequate payload ratings. Discard any gear exhibiting structural fatigue. Transition your entire crew to a standardized, modular support ecosystem. Protecting your top-tier assets starts with the foundation beneath them.
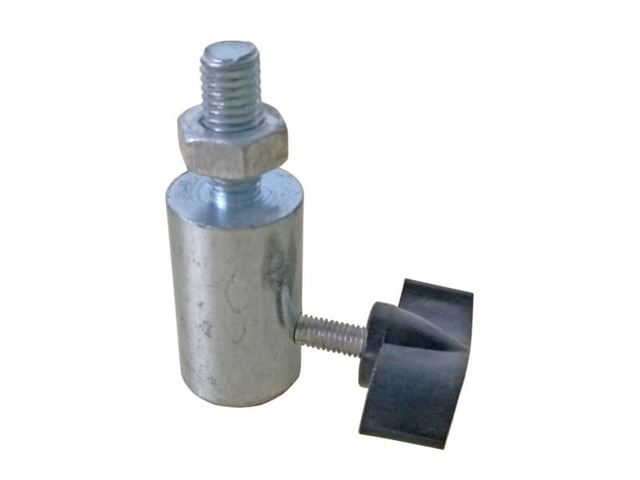
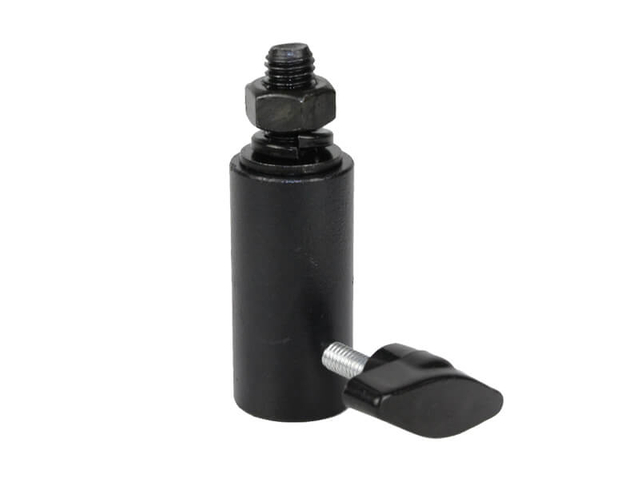
A: Standard tripods prioritize torsional stability for smooth camera panning. They use 1/4"-20 or 3/8" threaded mounts and bowl leveling systems. Light tripods prioritize vertical load capacity and height. They use a smaller footprint. They feature 5/8" baby pins or junior receivers to mount heavy fixtures safely.
A: Weigh your fully rigged camera body, heaviest lens, matte box, batteries, wireless transmitters, and monitor. Take that total combined weight and double it. This buffer ensures your fluid head counterbalance springs operate smoothly without maxing out their tension capacity.
A: Drifting usually indicates an overloaded counterbalance spring. It can also point to worn rosette locks inside the fluid head. Many beginners mistakenly rely on heavy pan/tilt drag to hold a camera still instead of using the dedicated physical locking levers.
A: Carbon fiber holds immense vertical weight and dampens vibrations well. However, heavy studio environments often utilize massive cinema lights and fast-moving crews. Steel or aluminum stands offer sheer mass, which significantly lowers the center of gravity and prevents accidental knock-overs.